Getting Started

Welcome to the first step of your adventure into CTWUG. In this step we'll be creating an OpenID profile and WIND node, as well as looking at the different ways in which you can connect to the network. Be sure to read and complete all these steps before asking for help.
Contents
Getting Help
The guides should be followed carefully if you hope to get connected to CTWUG. If you do need help outside of these guides, there are several ways you can get it.
First, contact your area's First contact. There is a list of these contacts here: First_Contacts.
Email connect@ctwug.za.net
Join CTWUG_IRC and ask for help in #ctwug.
Part 1: Create an OpenID Profile
All the official CTWUG services use an OpenID system to authenticate users. Before you can start your quest to get connected, you need to create an OpenID profile for yourself. This is quick and easy. Follow these steps to create an OpenID.
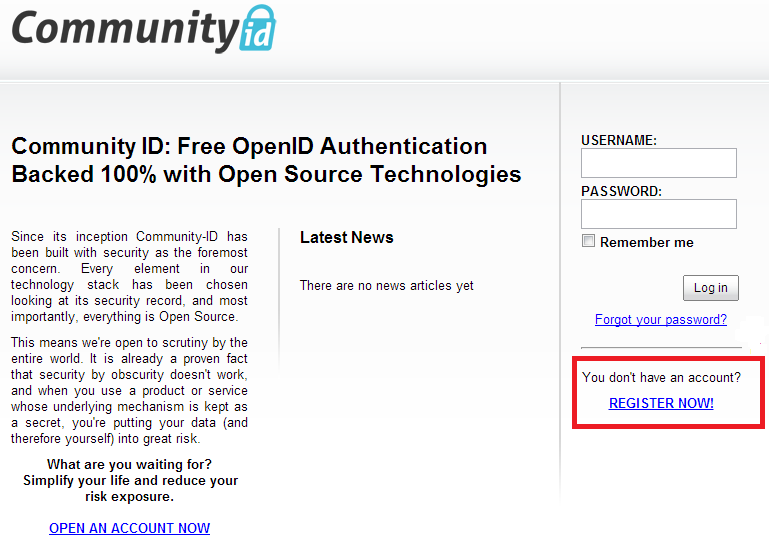
1. Open your web browser and go to http://openid.ctwug.za.net/ - you will be presented with the CTWUG Community ID website.
Click the "REGISTER NOW" link as highlighted in the screenshot above.
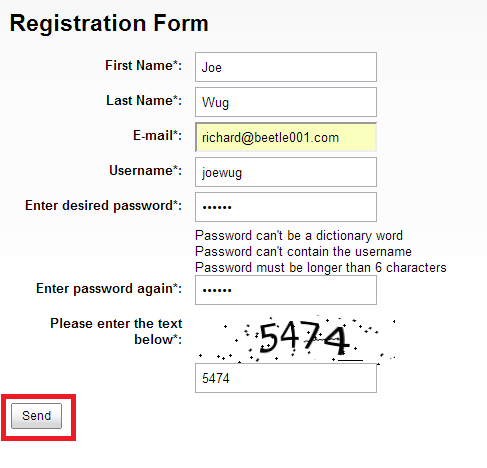
2. Complete the short registration form using a valid email address and click the "send" button.
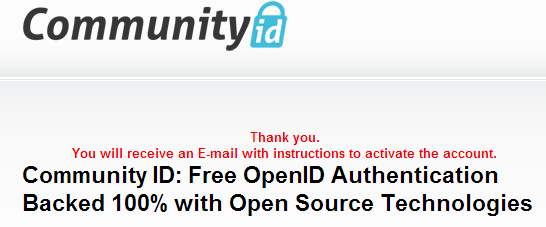
3. If you are sucessful, you will receive the following message:
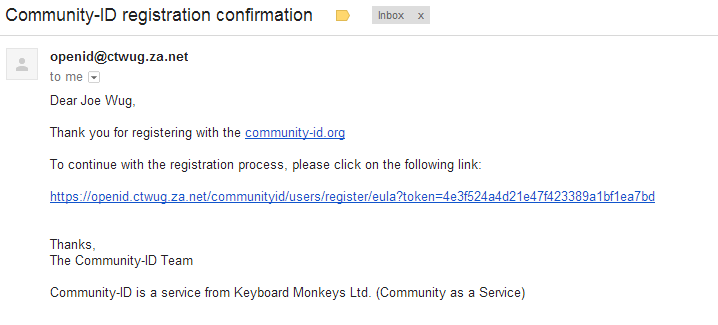
4. Now it's time to open your email and find the one sent by the OpenID system requesting activation of your account.
Click the link as highlighted in the screenshot to complete the registration of your OpenID profile.
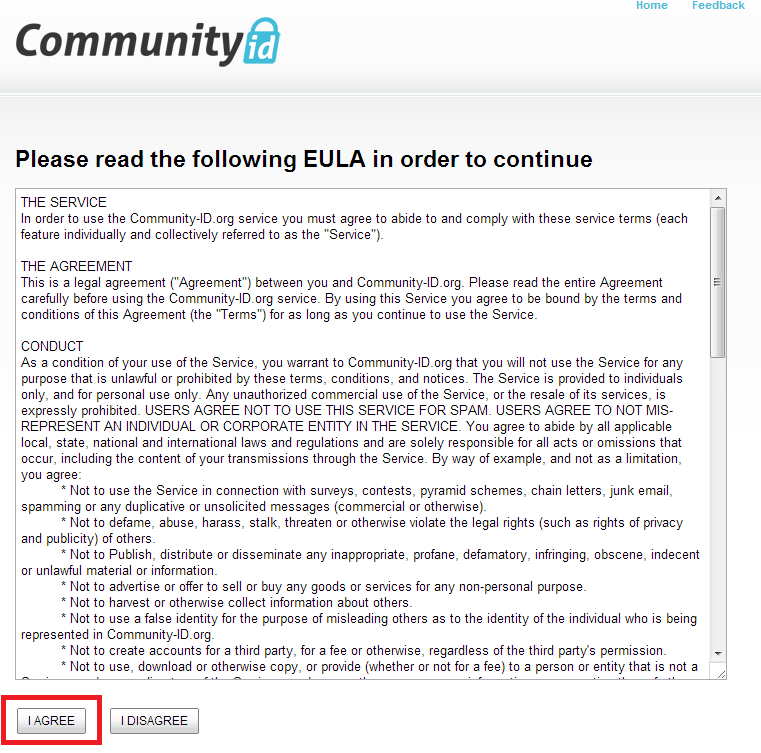
5. Once you've clicked the link in your email you'll be taken back to the OpenID website and asked to confirm the End User Licence Agreement.
Read the EULA if you want to and click the 'I AGREE' button.
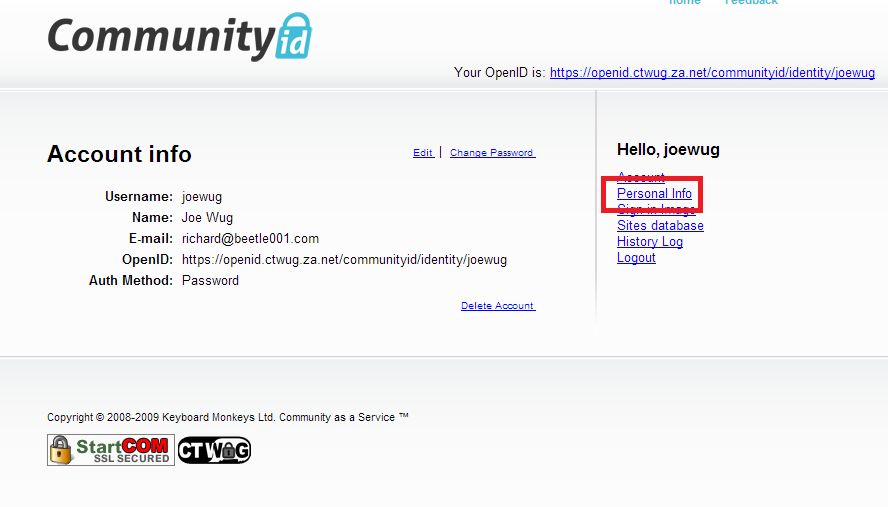
6. You'll now be taken to your personal CTWUG OpenID page.
7. Before we carry on, you should edit your OpenID profile and complete your details.
Click the "Personal Info" link on the right hand side of the page.
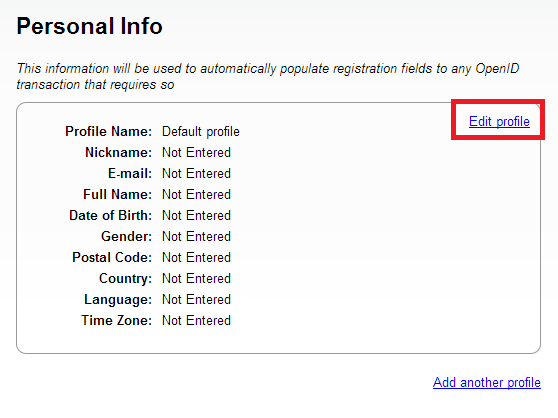
Now click "Edit Profile".
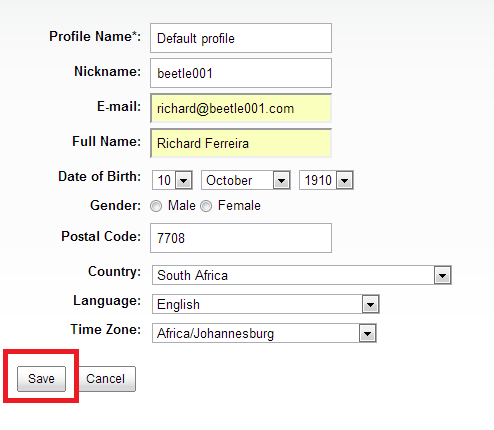
8. Complete your Profile information.
You can leave your "Profile Name" as 'Default profile' - complete the rest of the profile information and click 'Save'.
You have sucessfully created your CTWUG OpenID profile and are ready to move on to the WiND portal!
Part 2: Plot A Node on WIND
CTWUG uses a system called WiND (Wireless Node Database) to keep track of the geographical layout of the network. WiND also does many other things - it manages our DNS server updates for client's nodes and it is an indispensable tool for planning and finding new links and getting new clients connected. Before we can help you or you can connect, you need to have a WiND node. Here's how to create one.
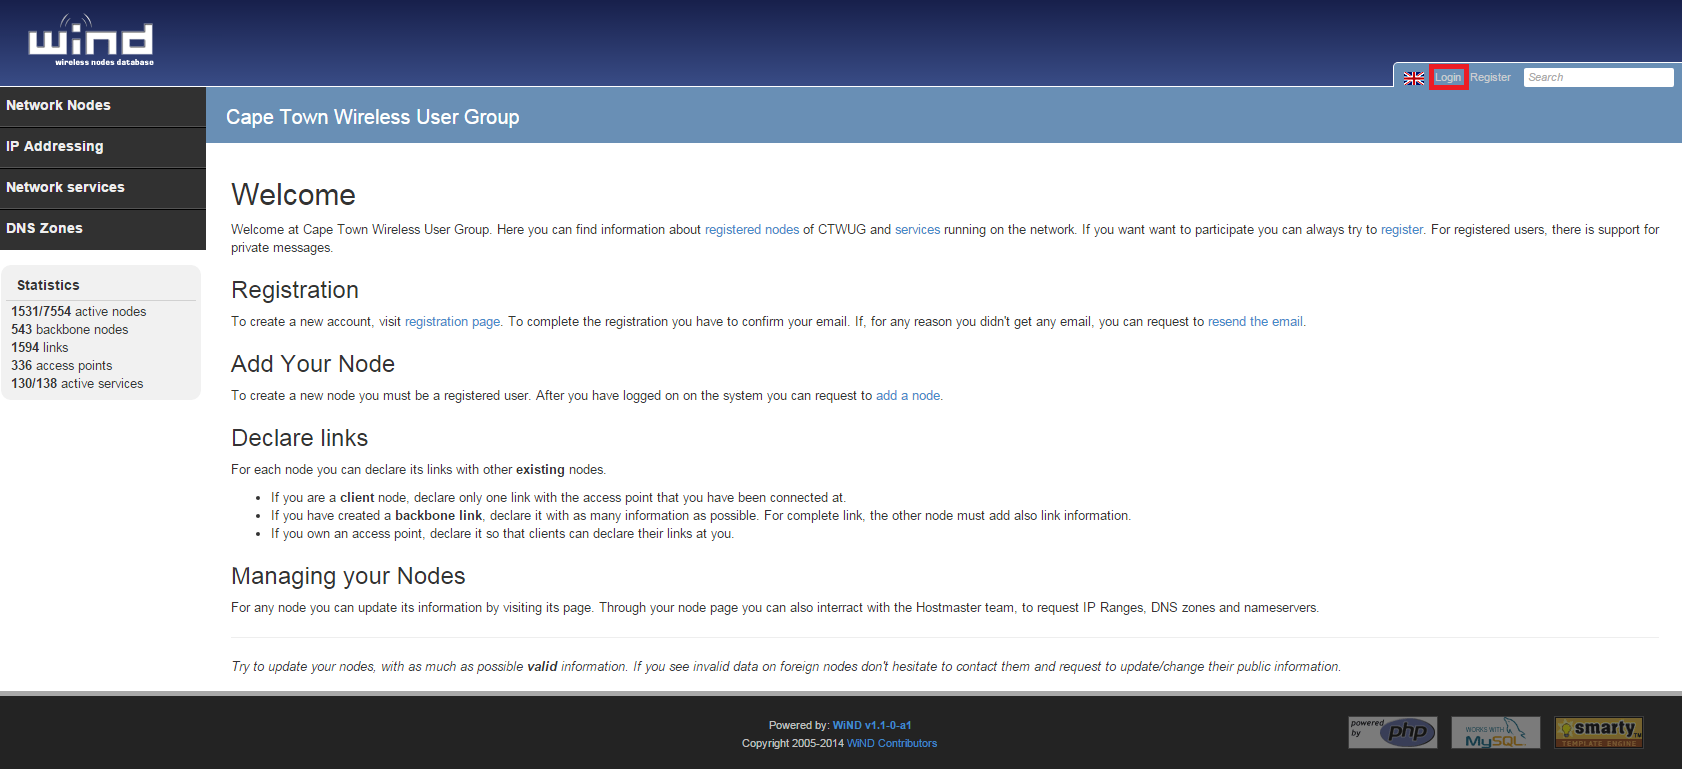
1. Open your web browser and go to http://wind.ctwug.za.net/ - you will be presented with the CTWUG WiND website.
type the OpenID username you created in step 1 in the box highlighted in the screenshot above and press ENTER or click the small orange arrow.
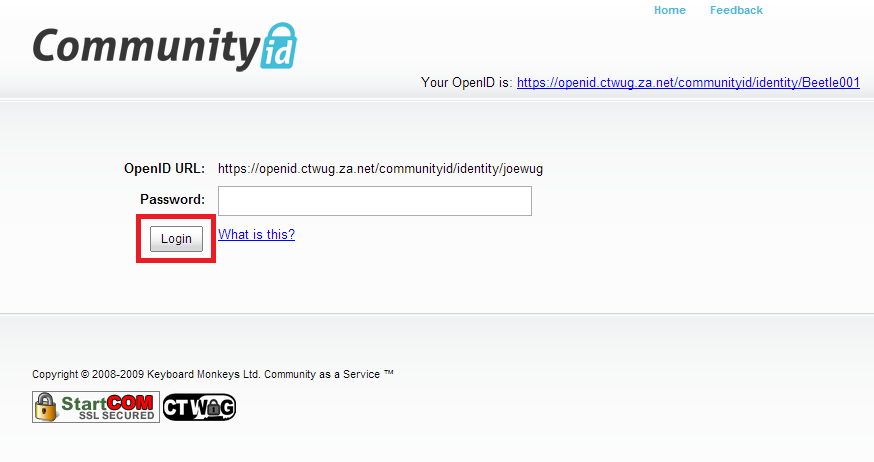
2. You will be redirected to the CommunityID page to enter your password. Do so now and press Login.
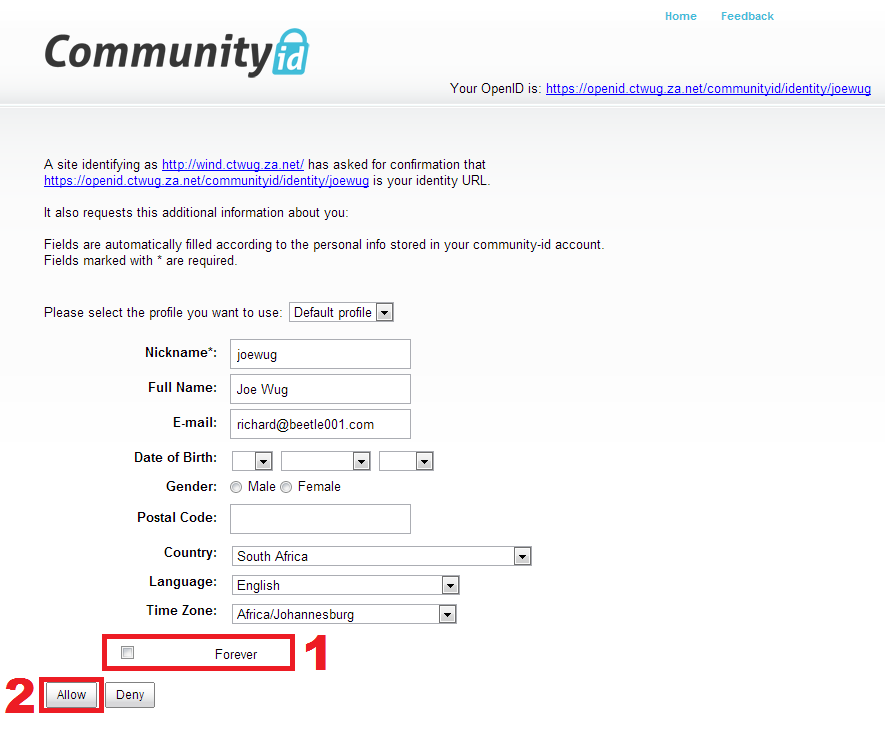
3. If this is the first time you're logging into WiND with your OpenID user, you will be asked to confirm some details.
Enter your details in the form. Ensure 'Forever' is checked (1) and then click 'Allow' (2).
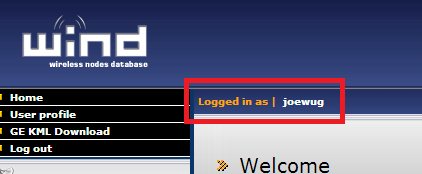
4. You will now be taken back to the WiND page and logged in. You can verify this by checking here:
5. Now it's time to add a node to WiND.
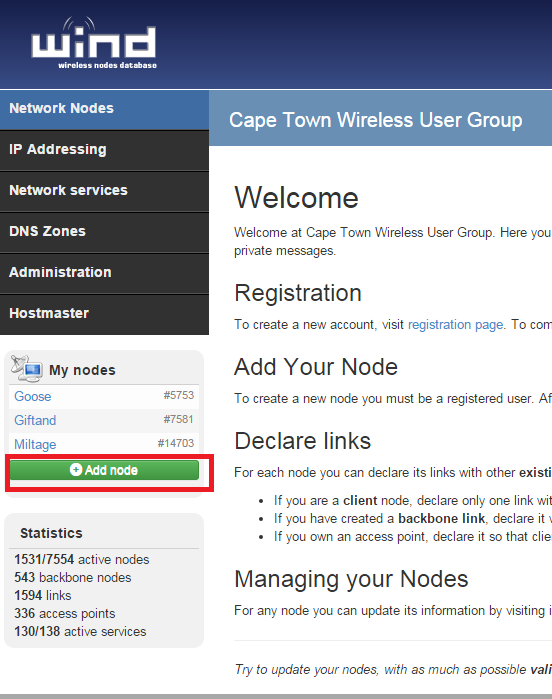
Click the 'Add node' link in the WiND menu as highlighted in the above screenshot.
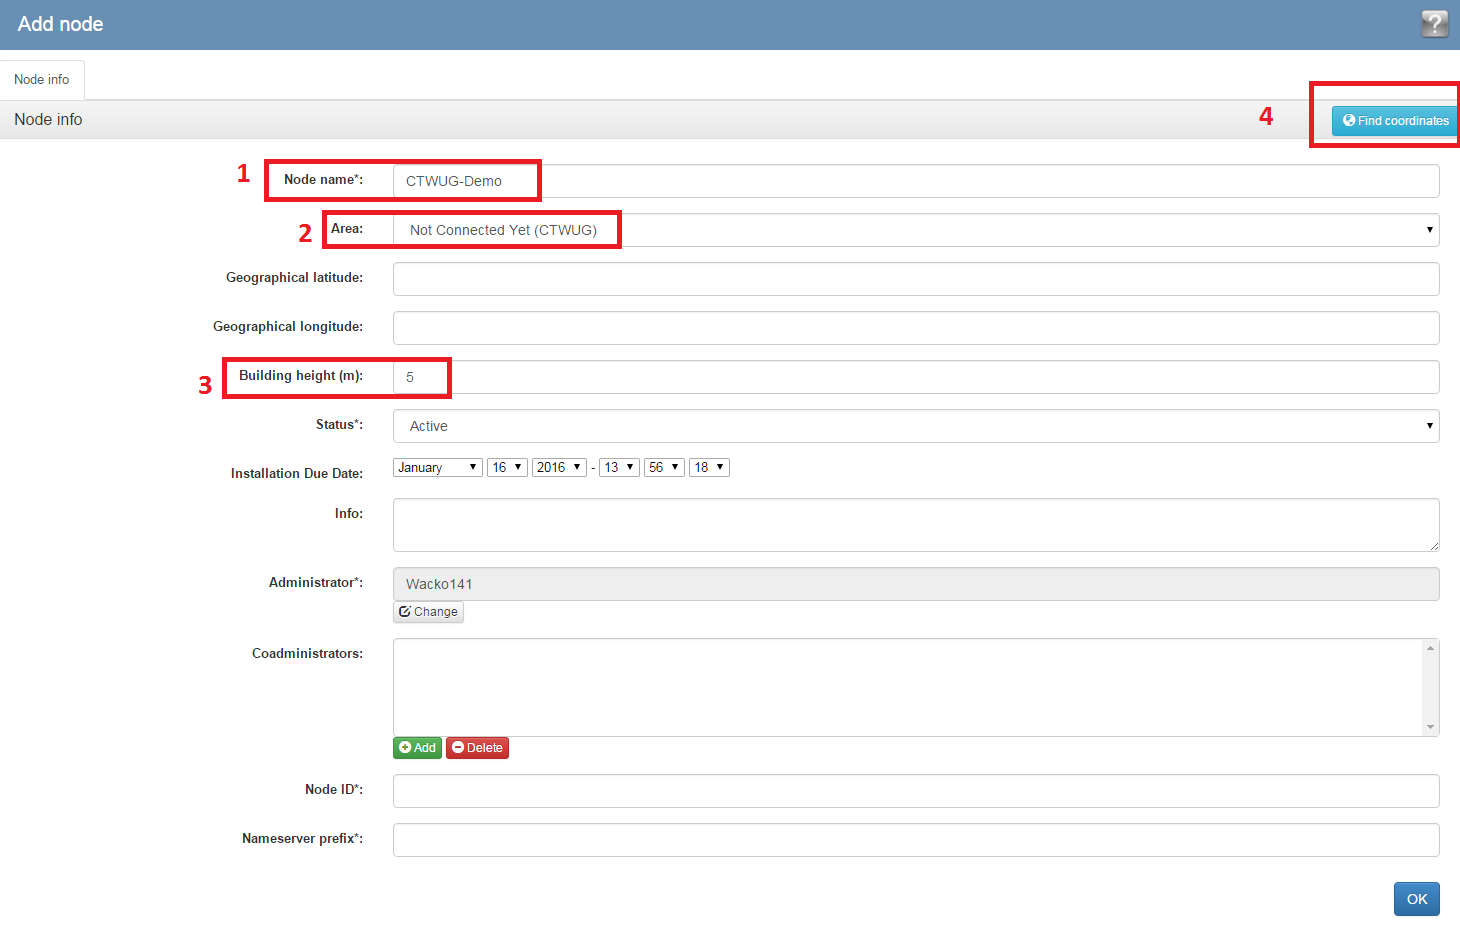
6. You'll be presented with the 'Add Node' page.
Enter the following information:
(1) Node name - this can be anything. It can also be the same as your OpenID username if you want. Do not use spaces.
(2) Select 'Not Connected Yet (CTWUG)
(3) Enter your building height - if you're in a multi-storey building this is especially important.
(4) Now Click "find coordinates". A new window will popup.
