How to Crimp an N-Type Connector
From CTWUG Wiki
thanks to bashTux(from PTAWUG) for taking the pictures (this HOWTO was Stolen from PTAWUG)
-
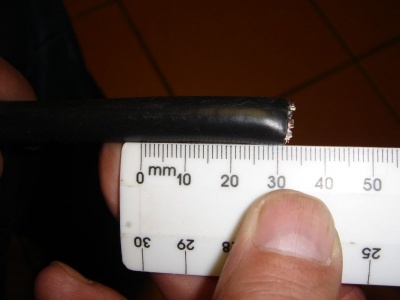 fit the silver ring over the LMR cable - measure 3cm and start cutting
 -
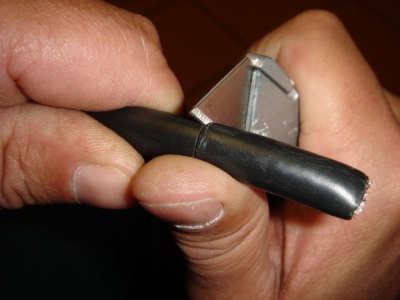 cut through the outer plastic, it is quite soft
 -
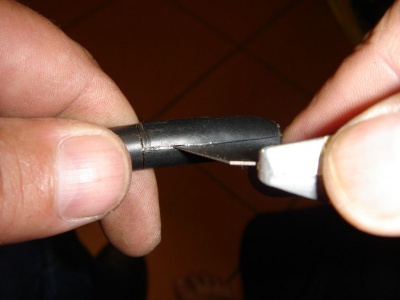 cut straight up
 -
 and remove the section
 -
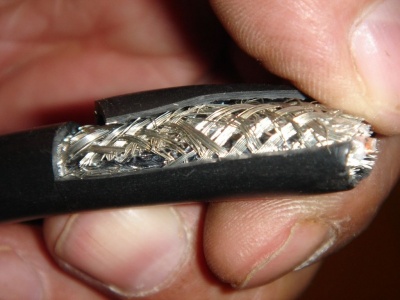
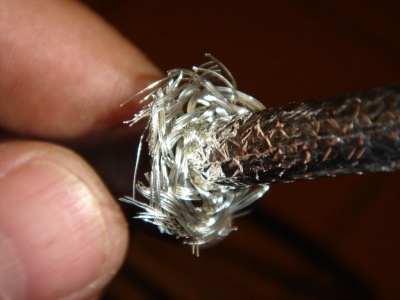
 revealing silver webbing
 -
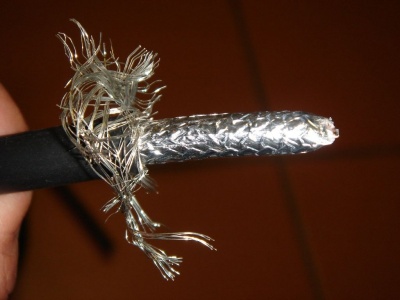 pull the webbing back
 -
 using a side cutter or a pair of scissors, cut the webbing until about 1cm remains
 -
 revealing silver insulation
 -
 cut off about 2cm of the the insulation, leaving 1cm
 -
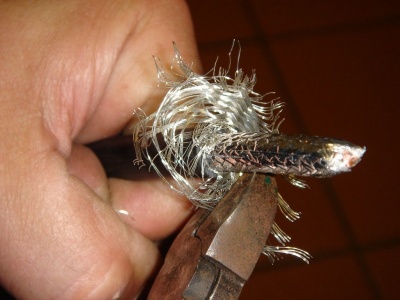
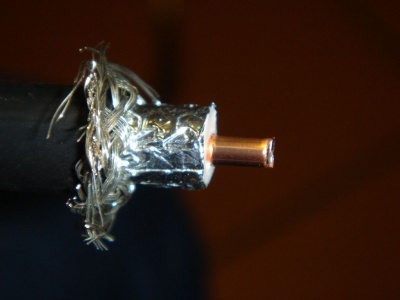
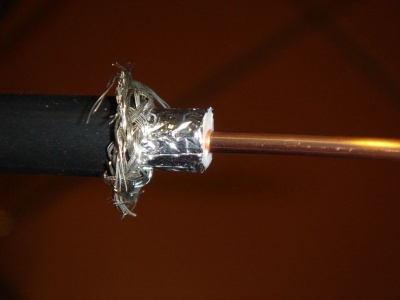 exposing the copper core
 -
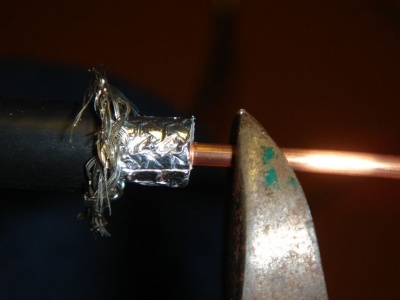 cut the core, measure first - the tip of the core must be level with the end of the connector
 -
 cut
cut -
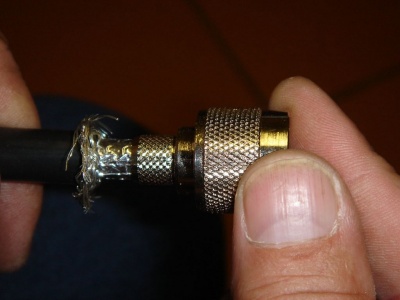
 fit the ntype connector pin
 -
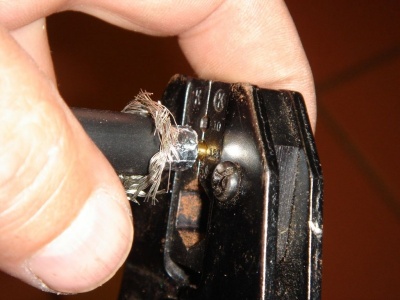 crimp it once using the small fitting on the crimping tool [be careful when crimping the pin, it is made from a thin metal and damages easily]


(alternatively, use a soldering iron and some solder to solder the pin to the copper core of the cable)
-
 fit the ntype connector over it so it comes to the black outside
 -
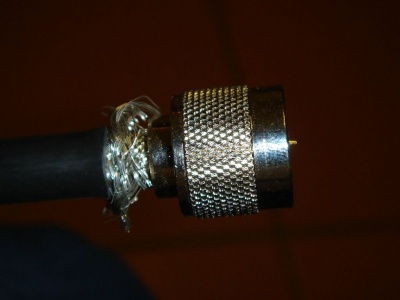 pull the webbing back
 -
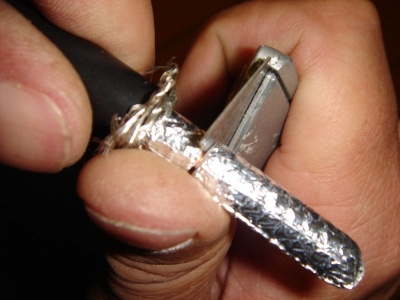
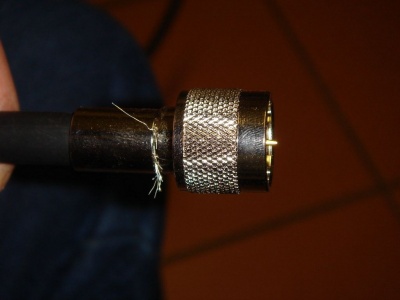 and pull the silver ring over it
 -
 crimp the silver ring twice using the large fitting
 -
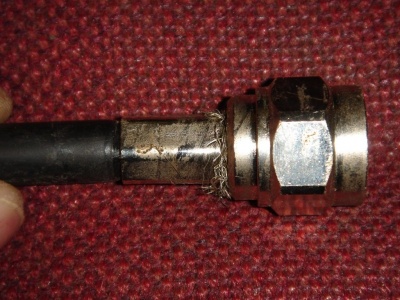 there you have a ntype connector ready to transfer wug data


